Icon Composer Tutorial: Layers to Xcode
Prepare icon layers, import them into Apple Icon Composer, check appearances and add the saved icon to Xcode.
Icon Composer prepares layered app icons for Apple platforms. This Icon Composer tutorial follows the handoff from source artwork to a saved native icon, then to the Xcode target that will use it. A PNG preview and a native icon file serve different jobs.
Start with a copy of your source artwork and keep the existing project icon until the replacement is checked. The steps below follow Apple’s documented workflow; they do not report a new native import test.
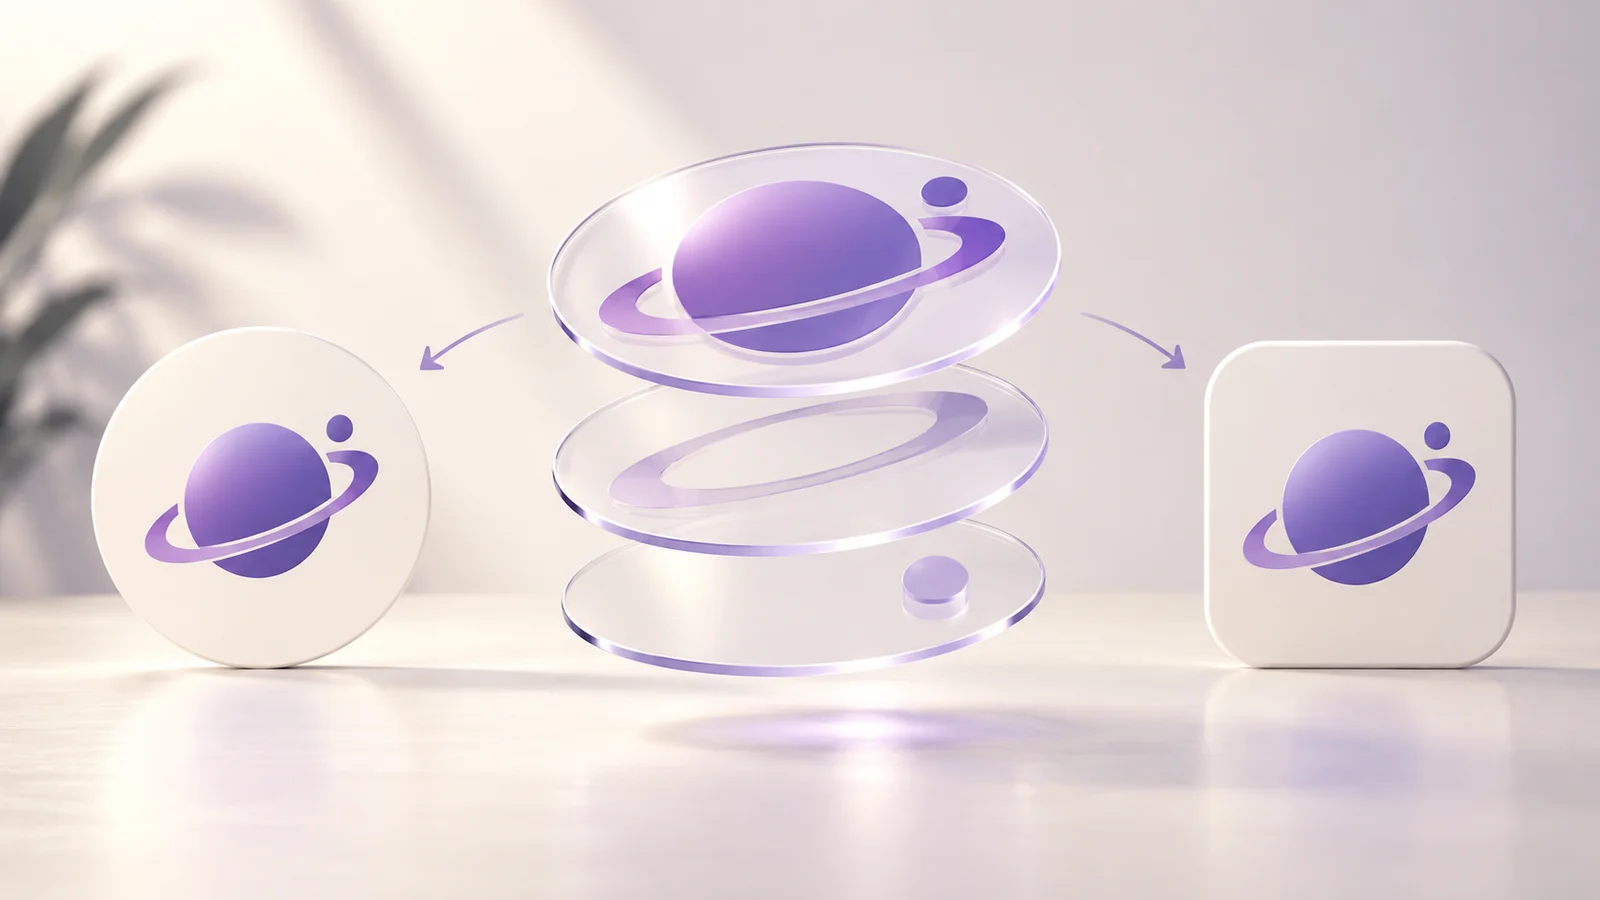
Cover: an original conceptual illustration, not an Icon Composer screenshot or a platform validation record.
Check the tool and the project first
Download the tool from Apple’s Icon Composer page, or open it through Xcode’s developer tools. At the time of this review, Apple’s current standalone download requires macOS Tahoe 26.4 or later. Check the requirements again when you install it; an older bundled version may have different controls.
Record your macOS and Xcode versions, target platform and deployment target. Identify whether the project currently uses an asset catalog or a native icon file. This matters when you replace resources: the selected target must reference the source you actually intend to ship.
Prepare layers before adding materials
Keep the background and foreground artwork separate. A transparent foreground lets the native tool apply its materials to the mark rather than to a flattened background rectangle. Inspect the silhouette without effects first; small letters and busy textures are difficult to rescue later.
The Apple Watch artwork tool prepares a ZIP containing foreground-1088.png, background-1088.png and composite-preview-1088.png. The first two are source artwork; the third shows their composition. The archive does not contain a finished .icon file.
Apple’s Icon Composer session describes the artwork workflow, including the 1088-pixel Apple Watch canvas. Follow the appropriate platform canvas rather than applying Watch dimensions to every project.
Import and organize the artwork
Create and save an Icon Composer document with a recognizable project name. Add the artwork layers, then inspect their order, positioning and groups. Start with a simple arrangement so a material adjustment has a clear target.
Use Apple’s creation and Xcode integration guide for the exact supported controls. Interface labels can vary by tool version. If the picture already contains a painted glass effect, it remains part of that image; importing it does not reconstruct editable objects.
Review platform and appearance modes
Check the supported platform views and available appearance modes in the installed version. Look at the mark’s boundaries, contrast and background as you adjust materials. A pleasing large preview may still be unclear at launcher size.
Compare the composition with and without an effect before keeping it. The browser preview helps you prepare sources, while Icon Composer controls native rendering. Do not describe a browser’s shadow or gloss as evidence that the native appearance has been verified.
Save the icon and connect the Xcode target
Save the native icon document, add it to the correct Xcode target and check the target’s App Icon setting. Apple’s guide explains that the selected icon name must match the Icon Composer filename without its extension.
Build the chosen scheme and inspect the icon in Simulator or on a device. Record those checks separately. A source archive download, a successful project build, an installed icon and store acceptance are different outcomes.
For a PNG asset-catalog workflow, use the iOS generator and Xcode import guide. Maker’s PNG package and a native Icon Composer document are alternative inputs, not interchangeable file formats.
Questions about Icon Composer
Can Icon Composer turn an AI PNG into editable layers?
A flattened PNG stays raster artwork. You can import it as artwork, but independently editable foreground objects need separate source layers. Review an AI result before export rather than assuming the generated effect is native material.
Does the watchOS source ZIP contain a finished native icon?
No. It contains foreground, background and a composite preview. Import the sources, configure the appearances and save the native document in Icon Composer.
Should I remove the old asset catalog immediately?
Keep a backup and review the project’s supported targets before removing it. Confirm the replacement is selected and tested in the intended configuration.
Keep a reproducible handoff
Use this Icon Composer tutorial as an import checklist: retain the source layers, native file, tool versions and target choice together. Start with App Icon Maker when you need PNG resources, and use Icon Composer when the project requires the native layered workflow.
Author

Categories
More Posts
Add a Generated App Icon to Xcode: Asset Catalog Import and Checks
Import an AppIcon.appiconset into Xcode, select the correct target asset, and investigate missing images, alpha and stale app icons.
Android Adaptive Icon Cropping: Fix the Foreground and Safe Zone
Diagnose a cropped Android icon, adjust the foreground safely, inspect the exported XML, and check the result in a launcher.
iOS vs Android App Icons: Source Art, Masks, and Export Files
Compare iOS and Android app icon requirements, including source artwork, system masks, adaptive layers, asset folders, and store images.
Newsletter
Stay Updated
Get the latest app design tips and icon trends delivered to your inbox.